
Currency

Nail sponge files are a versatile tool that can be used to achieve a variety of nail looks. In this blog post, we will discuss how to use nail sponge files to file and polish your nails, as well as how to use different colors and textures of sponge files to create different effects.

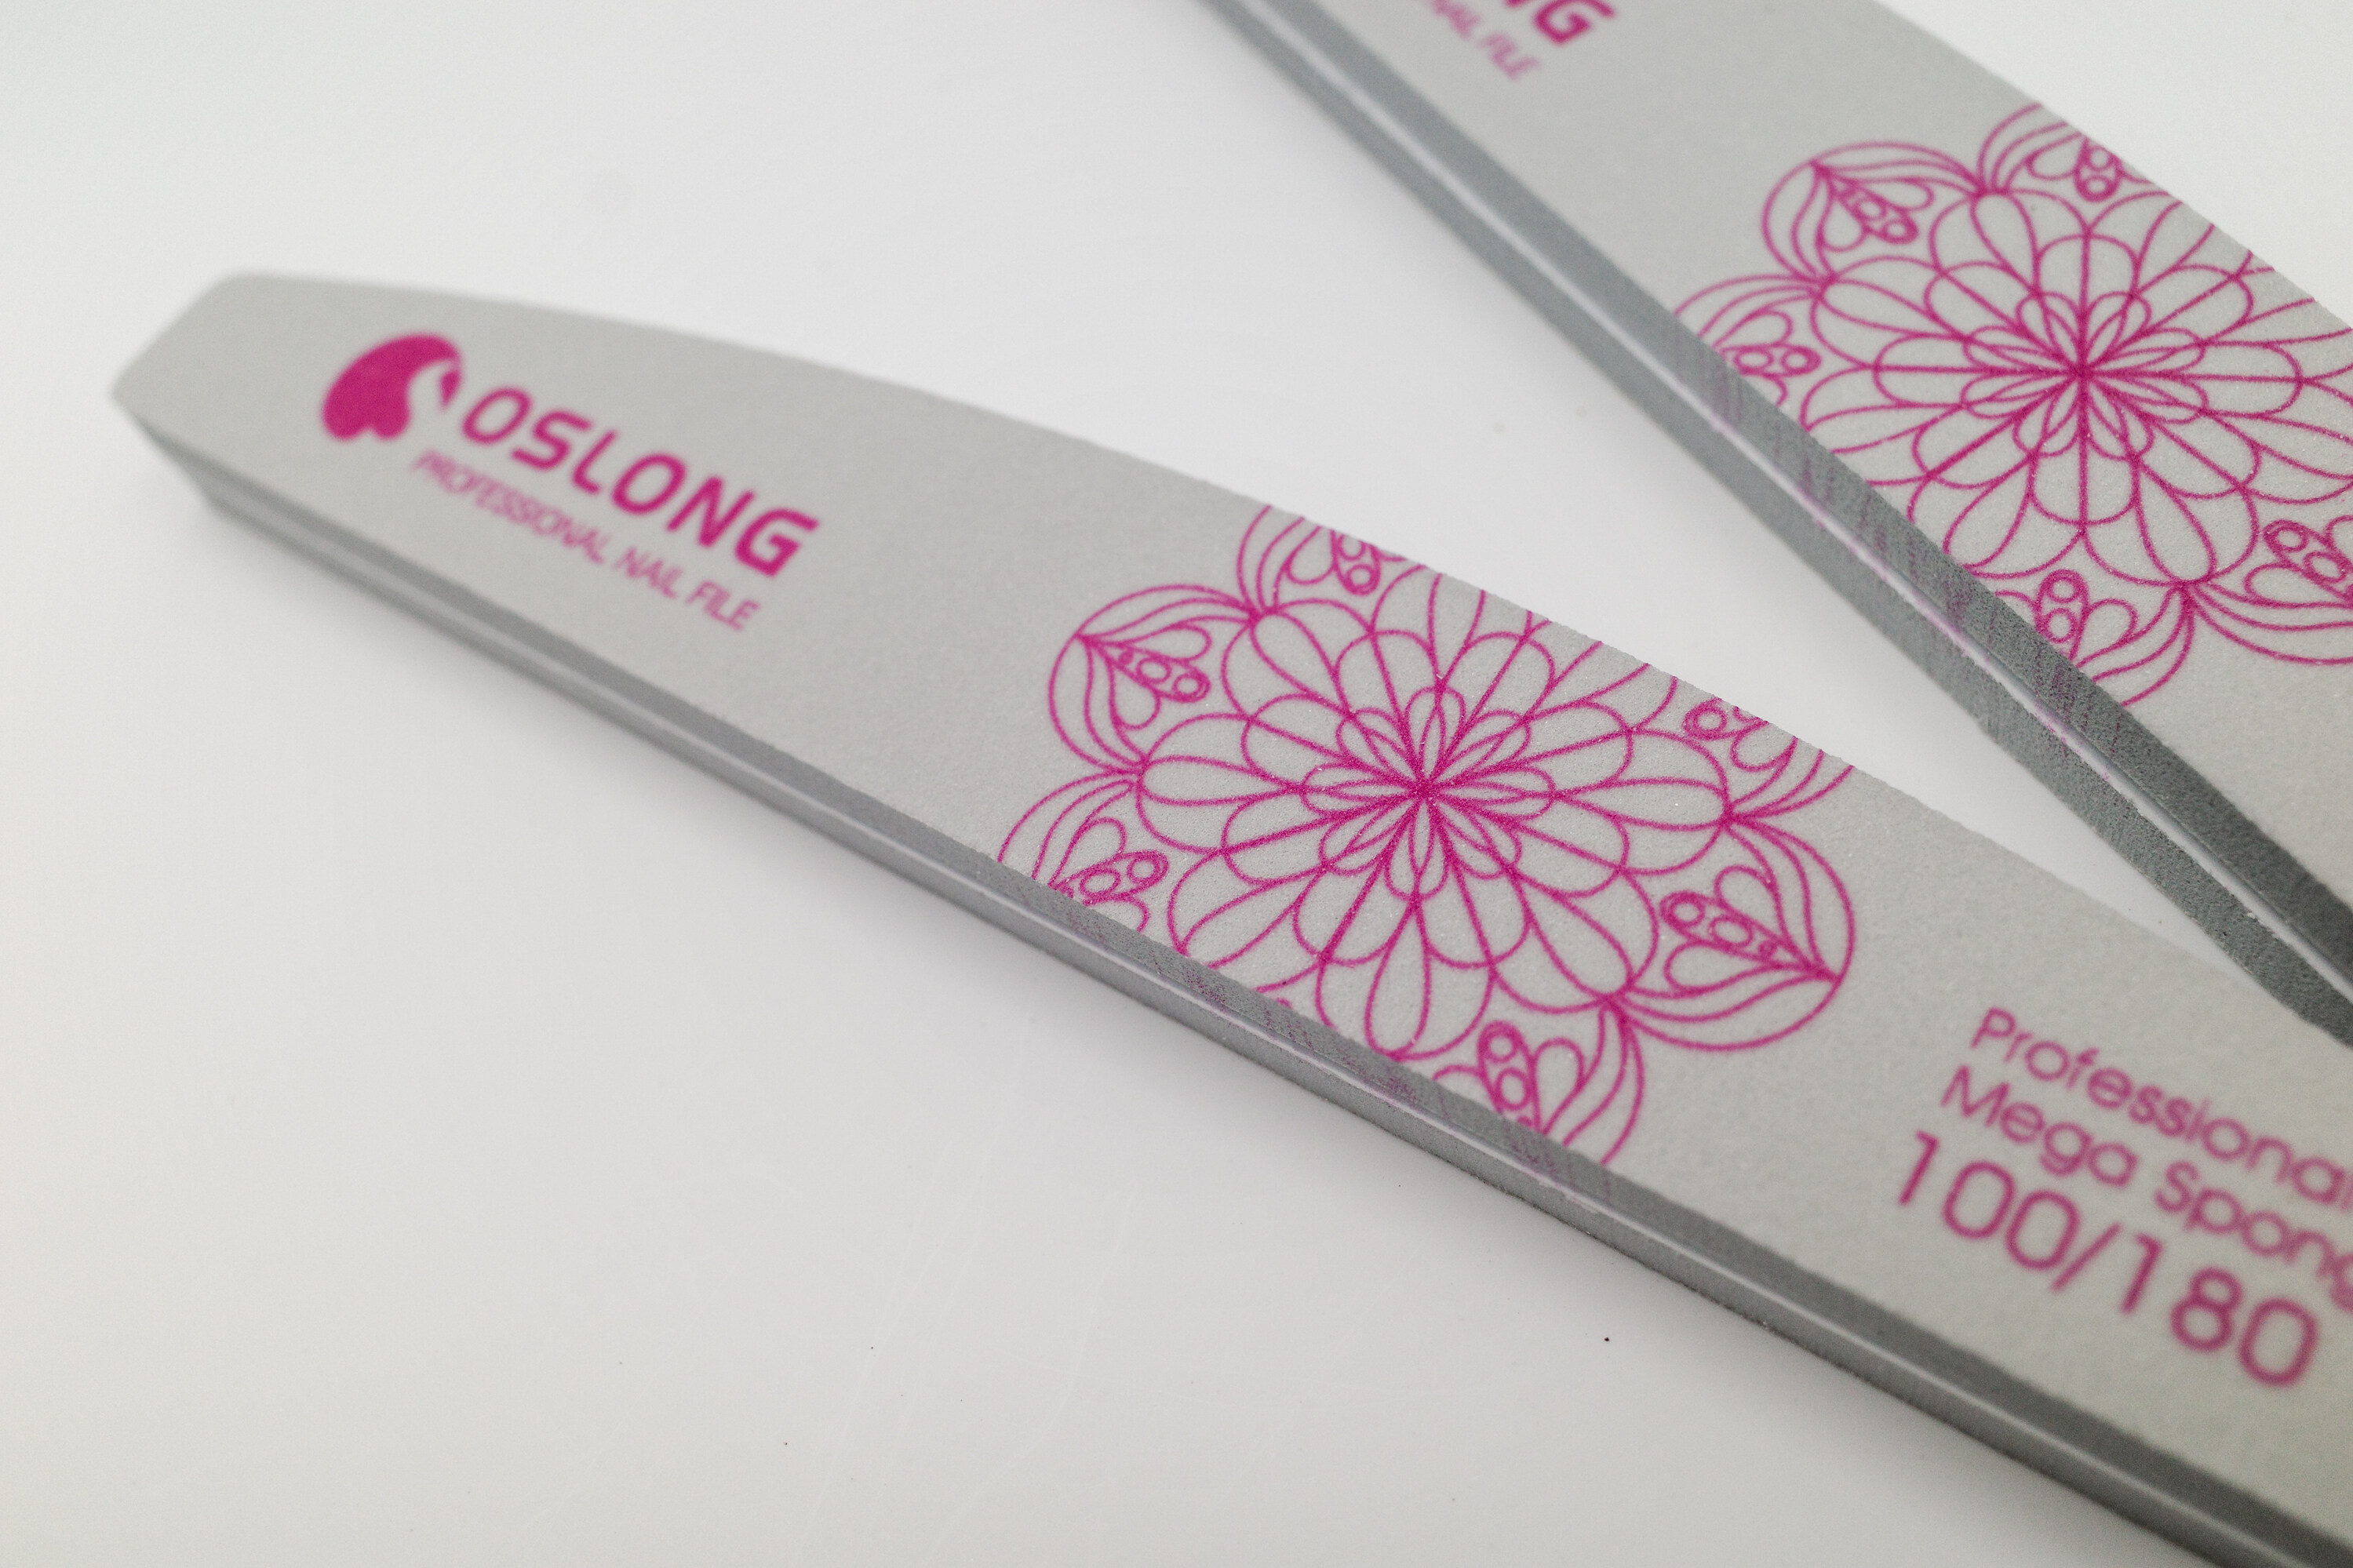
To file your nails with a nail sponge file, start by choosing the right grit for your nails. For natural nails, a grit of 180 or higher is recommended. For acrylic or gel nails, you may need a coarser grit to remove the product. Use a light touch and file in one direction only, starting at the outer edge of your nail and filing towards the center. Repeat this motion until you achieve the desired shape and smoothness.
To polish your nails with a nail sponge file, start by choosing a fine-grit file, such as a 240 or 320 grit. Apply a small amount of nail polish to the sponge and gently buff your nails in a circular motion. This will help to smooth out any ridges or bumps on your nails and create a shiny, polished finish.
Nail sponge files come in a variety of colors and textures, which can be used to create different effects on your nails. Here are some examples:
Ombre: To create an ombre effect on your nails, start by applying a base coat of nail polish. Then, use a sponge file to apply a second color to the tips of your nails. Blend the two colors together using a back-and-forth motion.
Glitter: To add some sparkle to your nails, apply a coat of glitter nail polish to a sponge file and gently dab it onto your nails. This will help to distribute the glitter evenly and create a dazzling effect.
Marble: To create a marble effect on your nails, apply two or three different colors of nail polish to a sponge file. Dab the sponge onto your nails in a random pattern, blending the colors together to create a marbled effect.
Nail sponge files can also be used to create intricate nail art designs. Here are some examples:
Stenciling: To create a stenciled design on your nails, start by applying a base coat of nail polish. Then, place a stencil over your nail and use a sponge file to dab a second color of nail polish over the stencil. Remove the stencil and repeat on the rest of your nails.
Gradient: To create a gradient effect on your nails, apply two or three different colors of nail polish to a sponge file. Dab the sponge onto your nails in a back-and-forth motion, blending the colors together to create a gradient effect.
Texture: To add texture to your nails, use a textured sponge file to apply a second color of nail polish over your base coat. This will create a unique, textured effect on your nails.
In conclusion, nail sponge files are a versatile tool that can be used to file, polish, and create a variety of nail looks. By choosing the right grit, using a light touch, and filing in one direction only, you can achieve a smooth and polished finish on your nails. To create different effects, experiment with different colors and textures of sponge files and have fun with your nail art!
Email format error
Email cannot be empty
Email already exists
6-20 characters(letters plus numbers only)
The password is inconsistent
Email format error
Email cannot be empty
Email does not exist
6-20 characters(letters plus numbers only)
The password is inconsistent
